

| Last Updated | Changes |
| 9/6/2023 | First version published |
| 11/10/2023 | SDXL Support added! |
| 4/11/2023 | User Interface Updated |
| 7/13/2024 | Huge “Workflow” Update! |
| 8/16/2024 | Flux Generation Update! |
| 11/14/2024 | Video Generation Update! |
Video Generation?
This guide covers Civitai’s Image Generation options, but the Generator does have text2video and img2video capability, now! For more information on those, see our Guide to Video in the Civitai Generator!
What is the Civitai Image Generator?
The Civitai Image Generator is a web-based interface for Stable Diffusion, which allows us to input text prompts and receive image outputs! You don’t need a powerful graphics card or PC, all the processing is handled by Civitai.com – you can ever run the generator on your cell phone!
It’s super easy to get started creating your own AI generated art with the Generator, and this guide will walk you through how to do so!
Who has access?
Everyone with a Civitai.com account can access the Generator and start creating images in seconds!
For help creating and configuring your Civitai account, check out this Guide to Civitai (Part 1)!
What can it generate?
One of the best things about the Civitai Generator is that it has access to literally millions of resources uploaded to Civitai, and can leverage them in the image generation! Your imagination is truly the limit, as the generator can be used with innumerable permutations of models, LoRA, and embeddings to create fantastic artworks, in various styles;

How do I make an image? (Basic Text-to-Image)

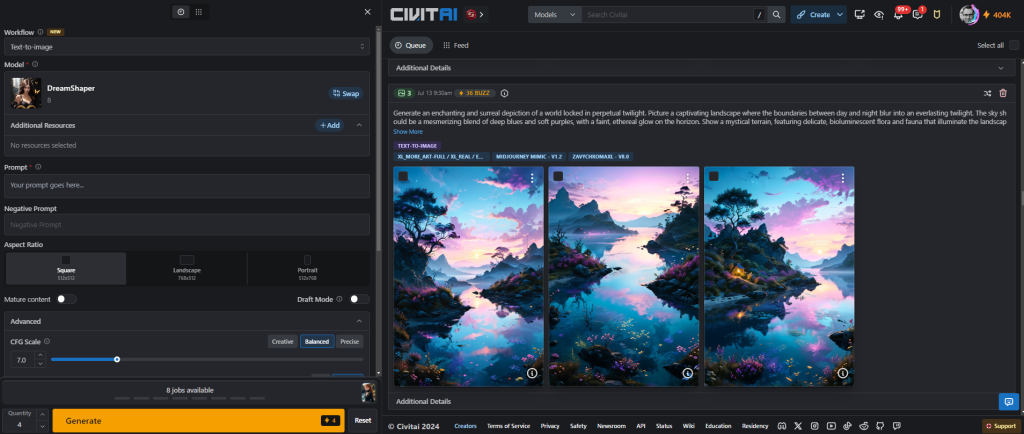
Upon logging into Civitai, you’ll notice a blue “Create” button in the top right of the screen (all pages). Clicking this expands the Generator drawer from the left of the screen.
There’s also a full screen Image Generation pane, accessible via https://civitai.com/generate
We can also access the Generator from a specific resource by selecting the blue “Create” button from the Model Card – which will pre-populate the Generator’s “Model” field. Note! Only models which the uploader has granted permission to be used on the Civitai Generator will show the “Create” button here, otherwise, the regular download button will be shown.

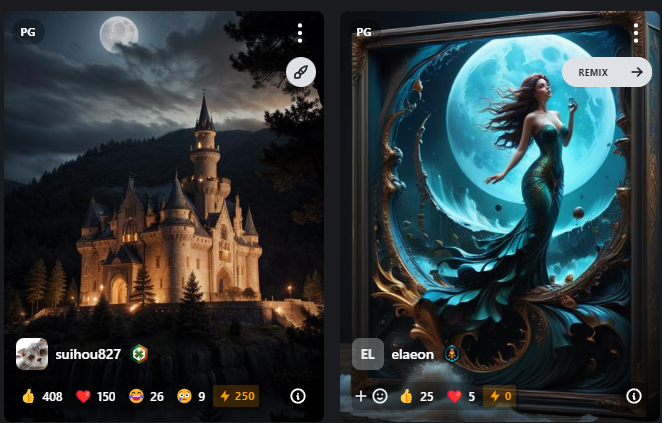
If you’re browsing images and see something you’d like to try replicating in the generator, you can click the white “Remix” button at the top right of each image – this will pre-populate the Generator with as many parameters as are available, and should re-produce a similar image!
Note that you may not be able to generate an exact facsimile of the chosen image if the original was generated off-site on local hardware, but your results should be close to the original!
For users who’re new to AI image generation we’ve tried to make things as simple as possible! Advanced settings have pre-set values which are optional to tweak, but images will generate just fine without setting them manually.
All the currently available settings are explained (at a very high level!) below;
- Model + Swap
Models are what power Stable Diffusion, which in turn powers our Generator. Clicking Add Model opens a popup listing all the selectable Models available for inference (generating images against) on Civitai.
- + Add Additional Resource
Additional resources include LoRA and Embeddings. These are used to apply a particular artistic style, or add a specific character, or concept.
- Prompt
A short description of the image you’d like to see!
- Negative Prompt
A short description, or a list of keywords, for content you don’t wish to see in your image.
- Mature Content toggle
If you don’t wish to see adult/lewd/not safe for work content, you can toggle this selector off. It won’t completely block such content from appearing in your generations, but it will reduce the chance, somewhat.
- Draft Mode toggle
Draft mode disables many of the Advanced options and locks the Quantity of images returned to 4. It offers low cost, rapid generations, with a slightly reduced quality – great for prototyping prompts before running better quality generations!
- Aspect Ratio
For SD 1.5 models, we allow images to be created in Square (512×512), Landscape (768×512) and Portrait (512×768) dimensions.
For SDXL Models, we allow images to be created in Square (1024×1024), Landscape (1216×832) and Portrait (832×1216)
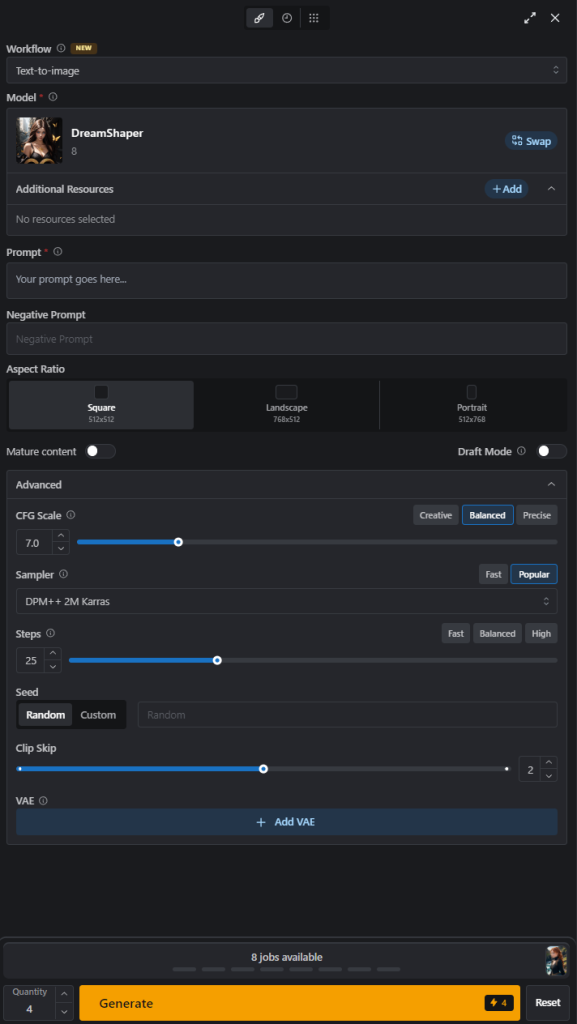
The Advanced settings are pretty complex concepts, and we’ll delve into those in a dedicated guide, but for now if you’d like to read more about what these are, and how they change the generated images, you can check out the Civitai Generative AI Glossary.
To view your Image Queue, and Image Feed, there are icons at the top of the Generation Panel;
How do I make a better image? (Workflows)
We also have Workflows which perform advanced image enhancements;
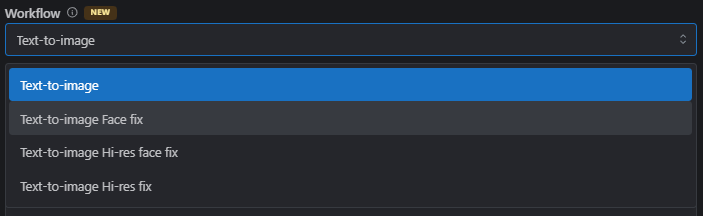
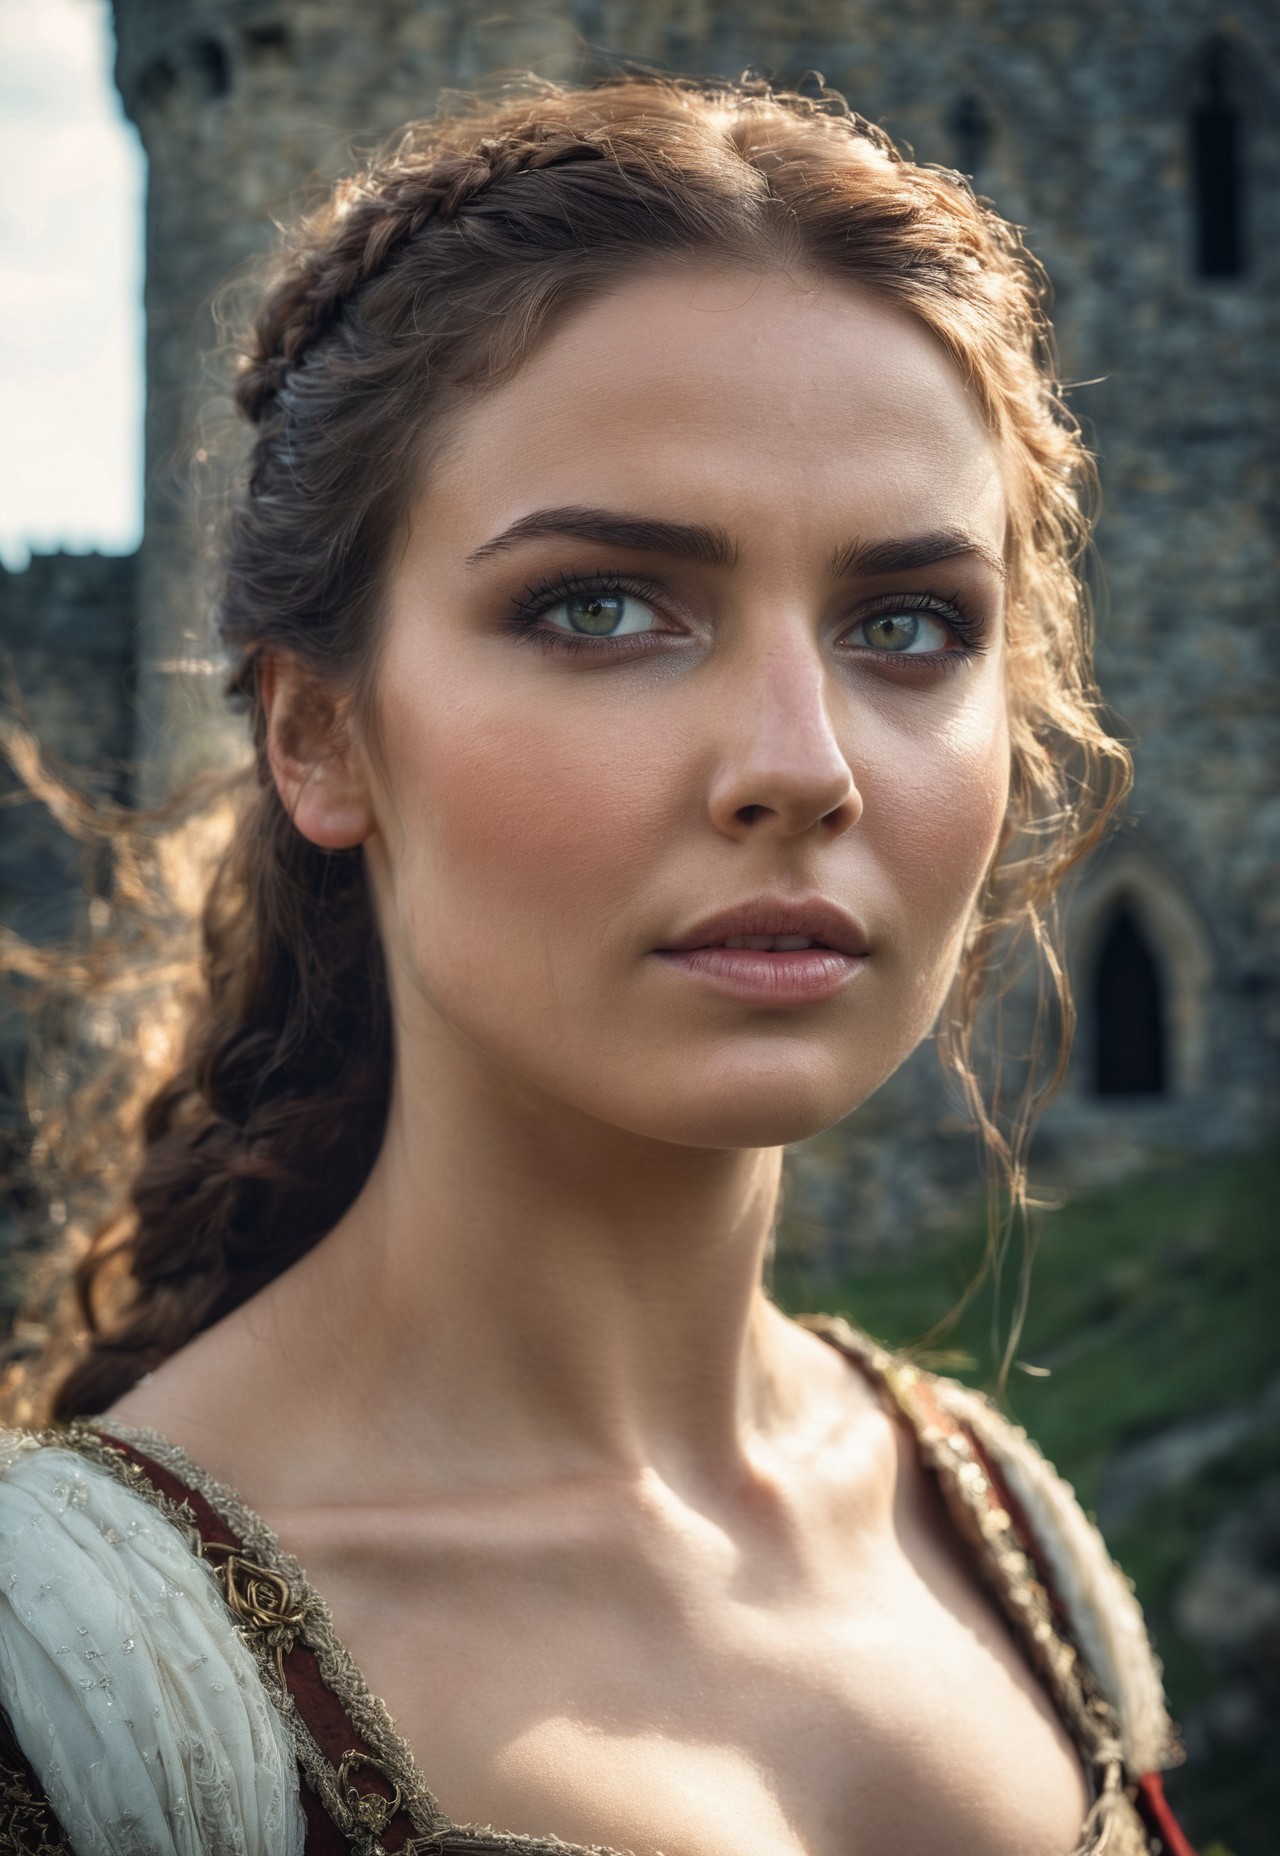
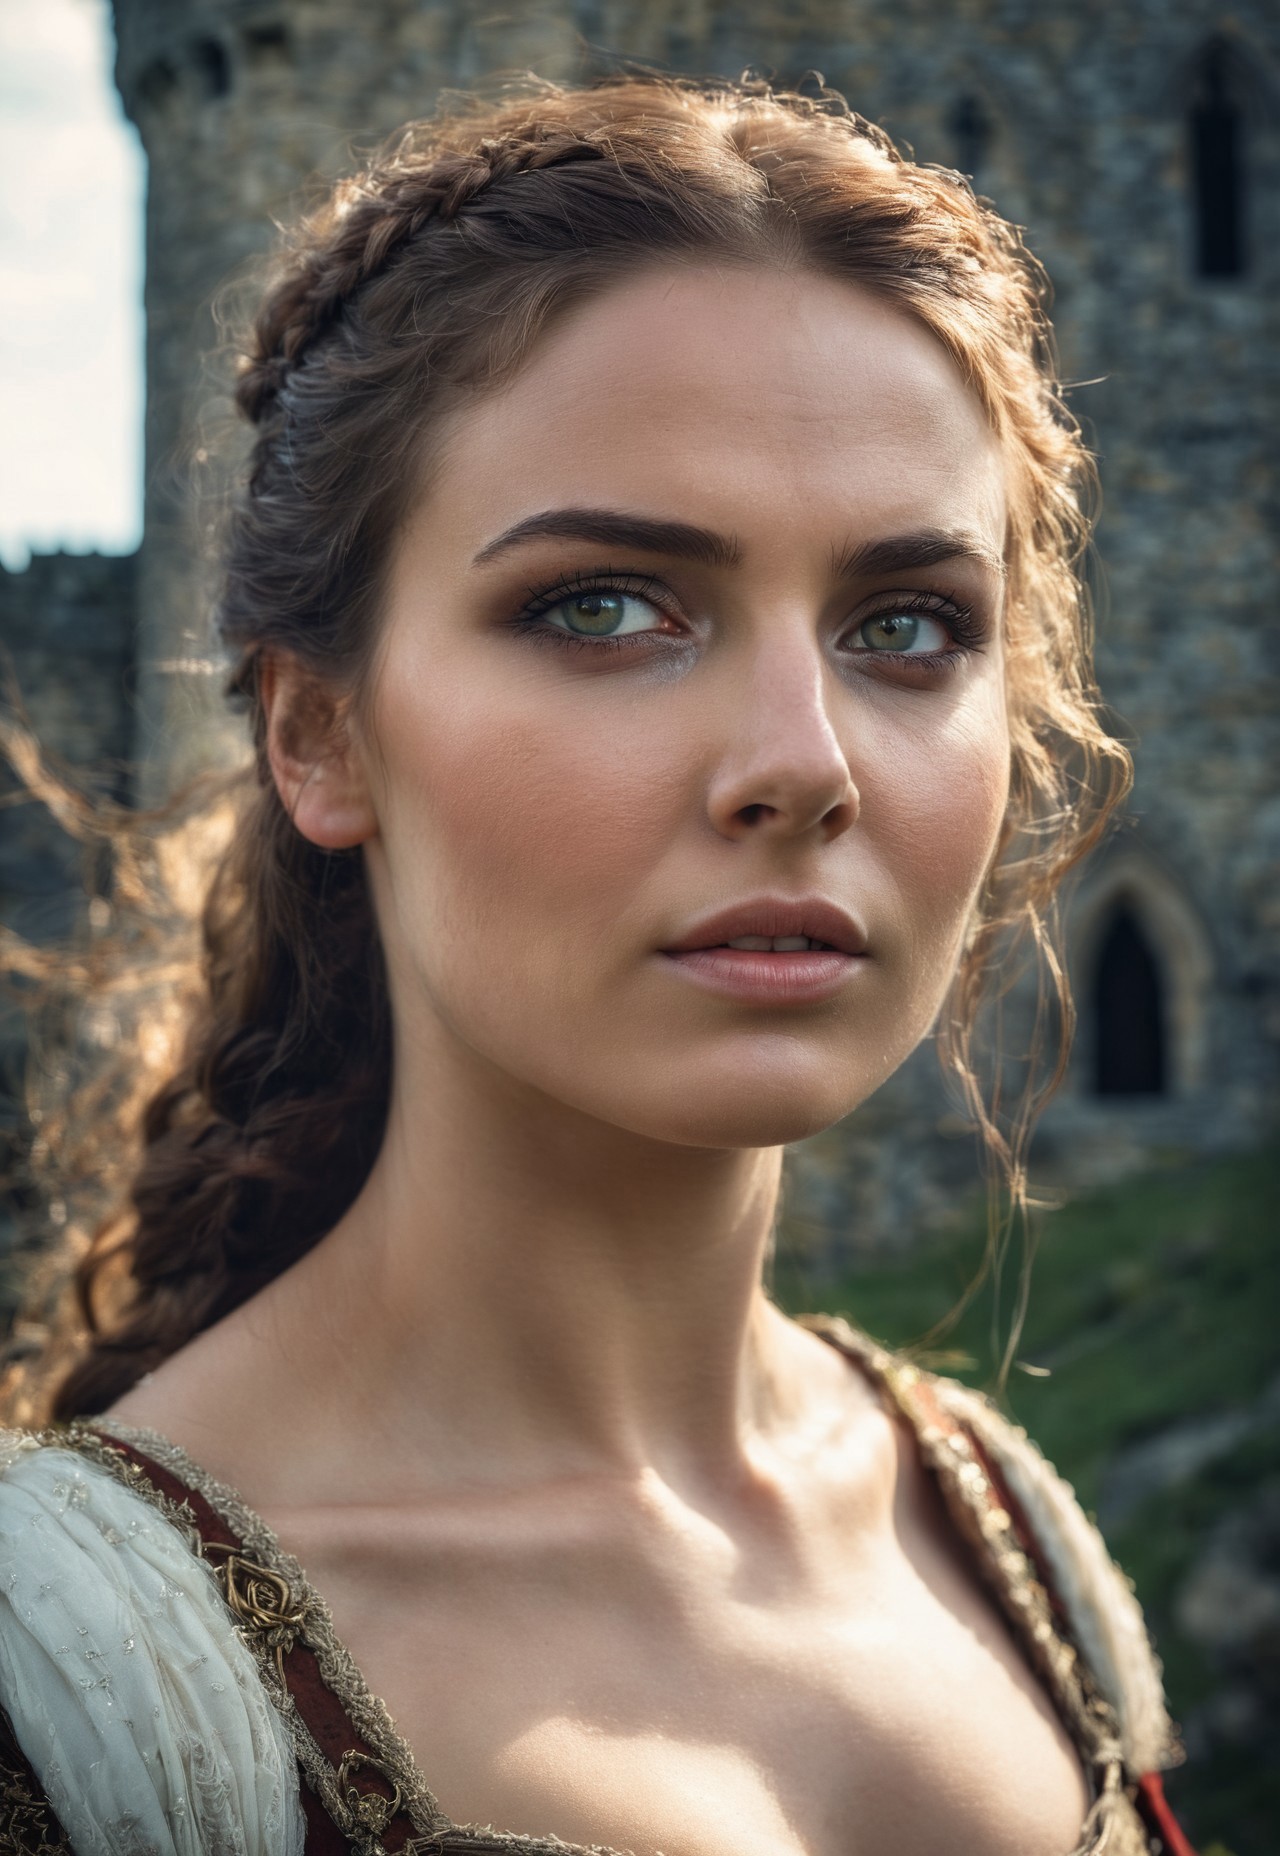
Text-to-image Face fix: Face fix runs a specialized workflow to detect and enhance the quality and detail of human faces. It’s especially good at increasing the detail and fidelity of eyes and skin. Face fix is also known as ADetailer, or Face Detailer, in the off-line, local Stable Diffusion interfaces. Note: For Face fix to work, a humanoid face must be detected!
Text-to-image Hi-res fix: Hi-res fix increases the image resolution during the generation process, improving the overall image quality. It works by generating an initial image, then performing a secondary image-to-image pass with a low denoise (see below!), for a high detail, sharp, final image. Hi-res fix can be used on all types of images.


Text-to-image Hi-res face fix: This workflow performs a text-to-image generation, followed by a hi-res fix, followed by a face fix enhancement. Best used for character portraits, or other images with humanoid subjects (with visible faces!).


We can use these workflows from a text-to-image starting point – with a prompt, generating the image then performing the enhancements, or we can use them based upon an existing image – in an image-to-image context.
To use an existing image as a starting point;
Start by generating an image – or select an existing image from your Image Feed or Queue;

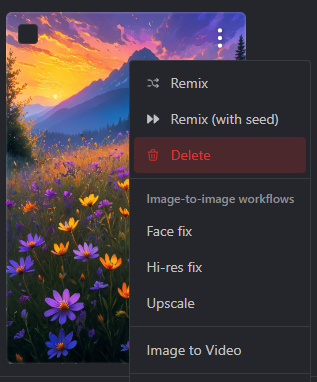
Clicking the hamburger context menu will present the image-to-image workflow menu.
This menu provides access to the Face fix and Hi-res fix workflows, and an additional Upscale workflow.
An Image to Video option is also available.
Understanding Denoise
One of the new Advanced Settings you’ll see when using the Workflows is a Denoise slider.
Simply, the higher the Denoise strength, the more the image will be altered from the original. Denoise is the balance between preserving the original image, and creating a completely new image.
Note that we’ve set a default value for you, but it often needs tweaking to produce the best images. If your image contains strange lines or artifacts, try a higher Denoise!

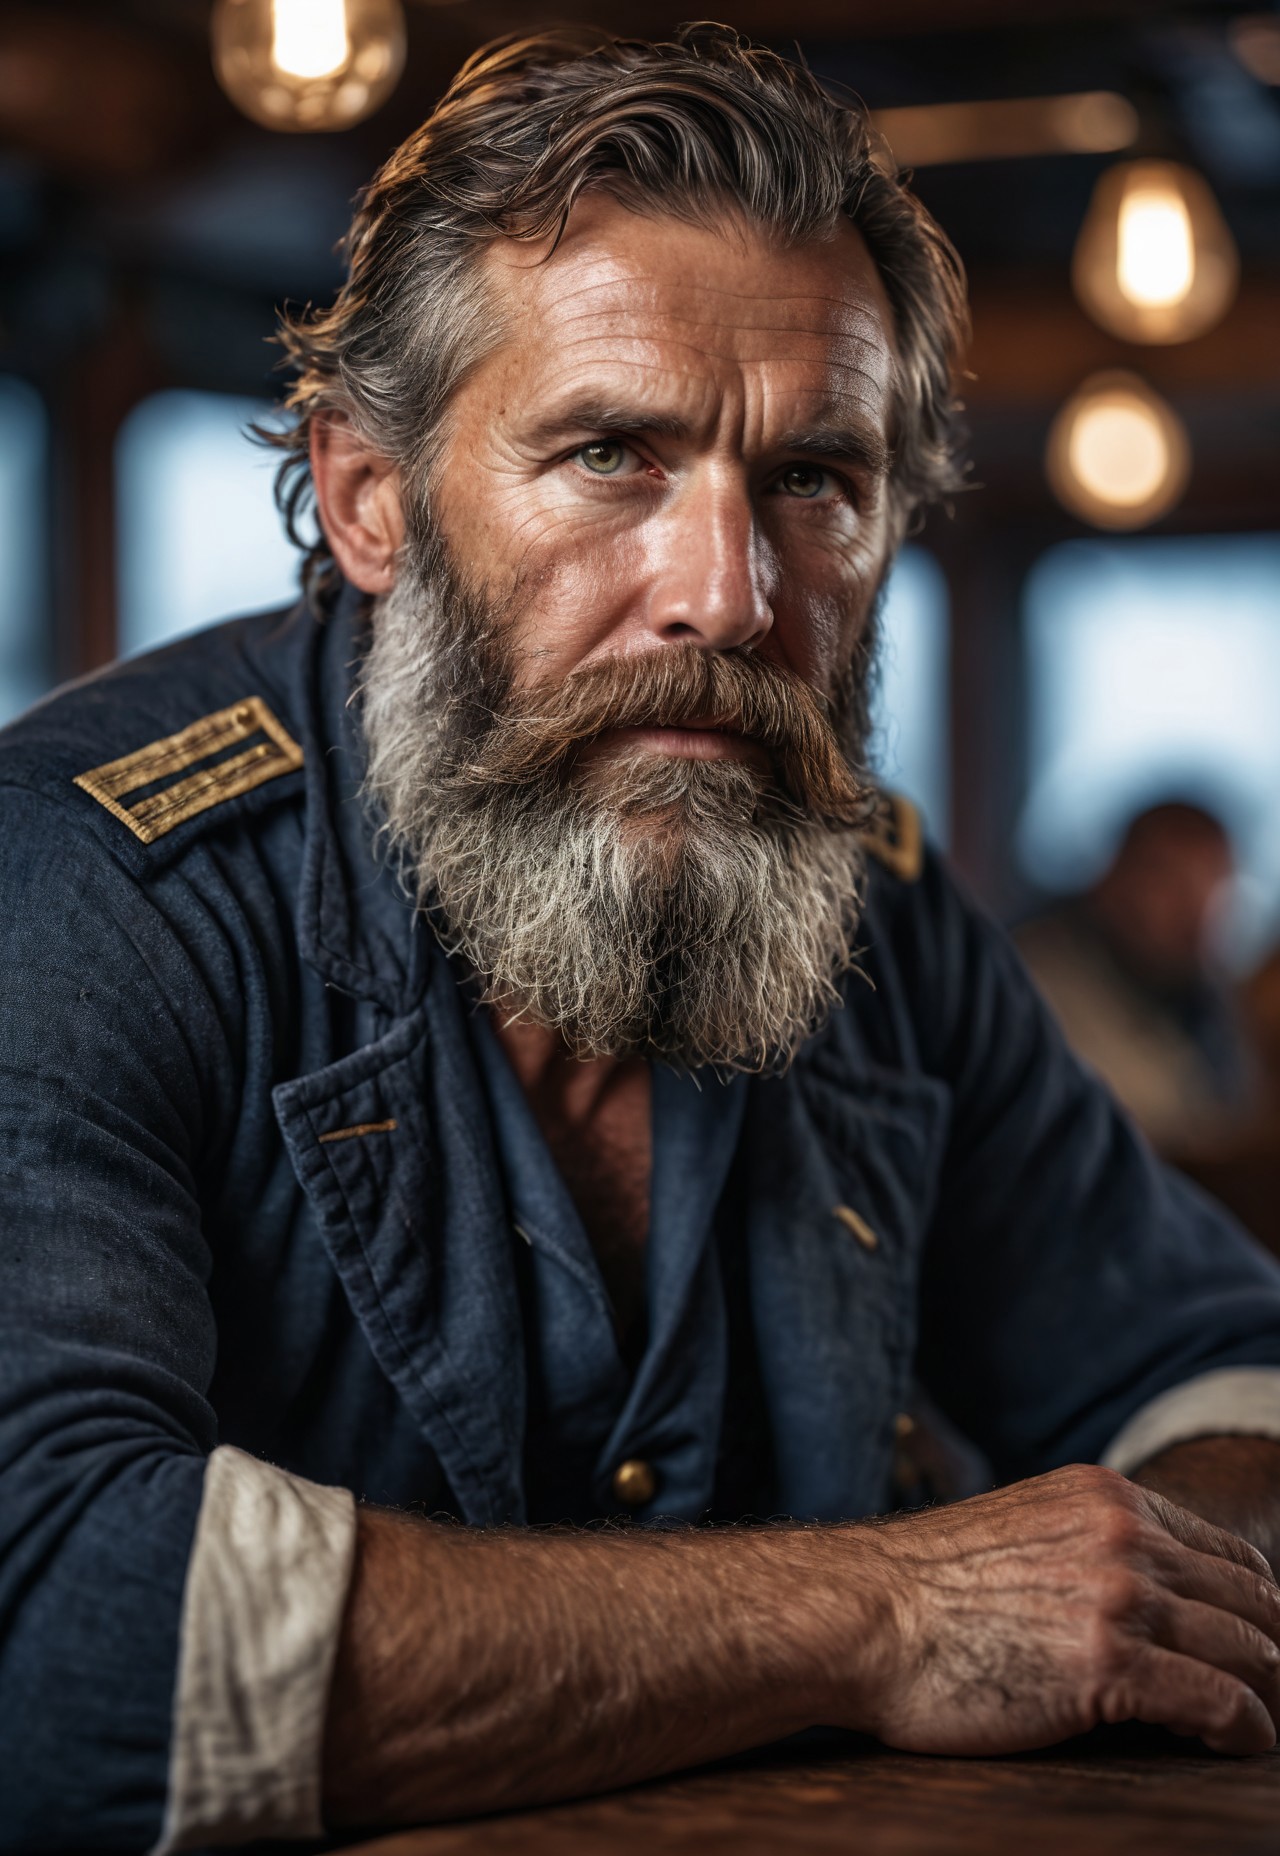
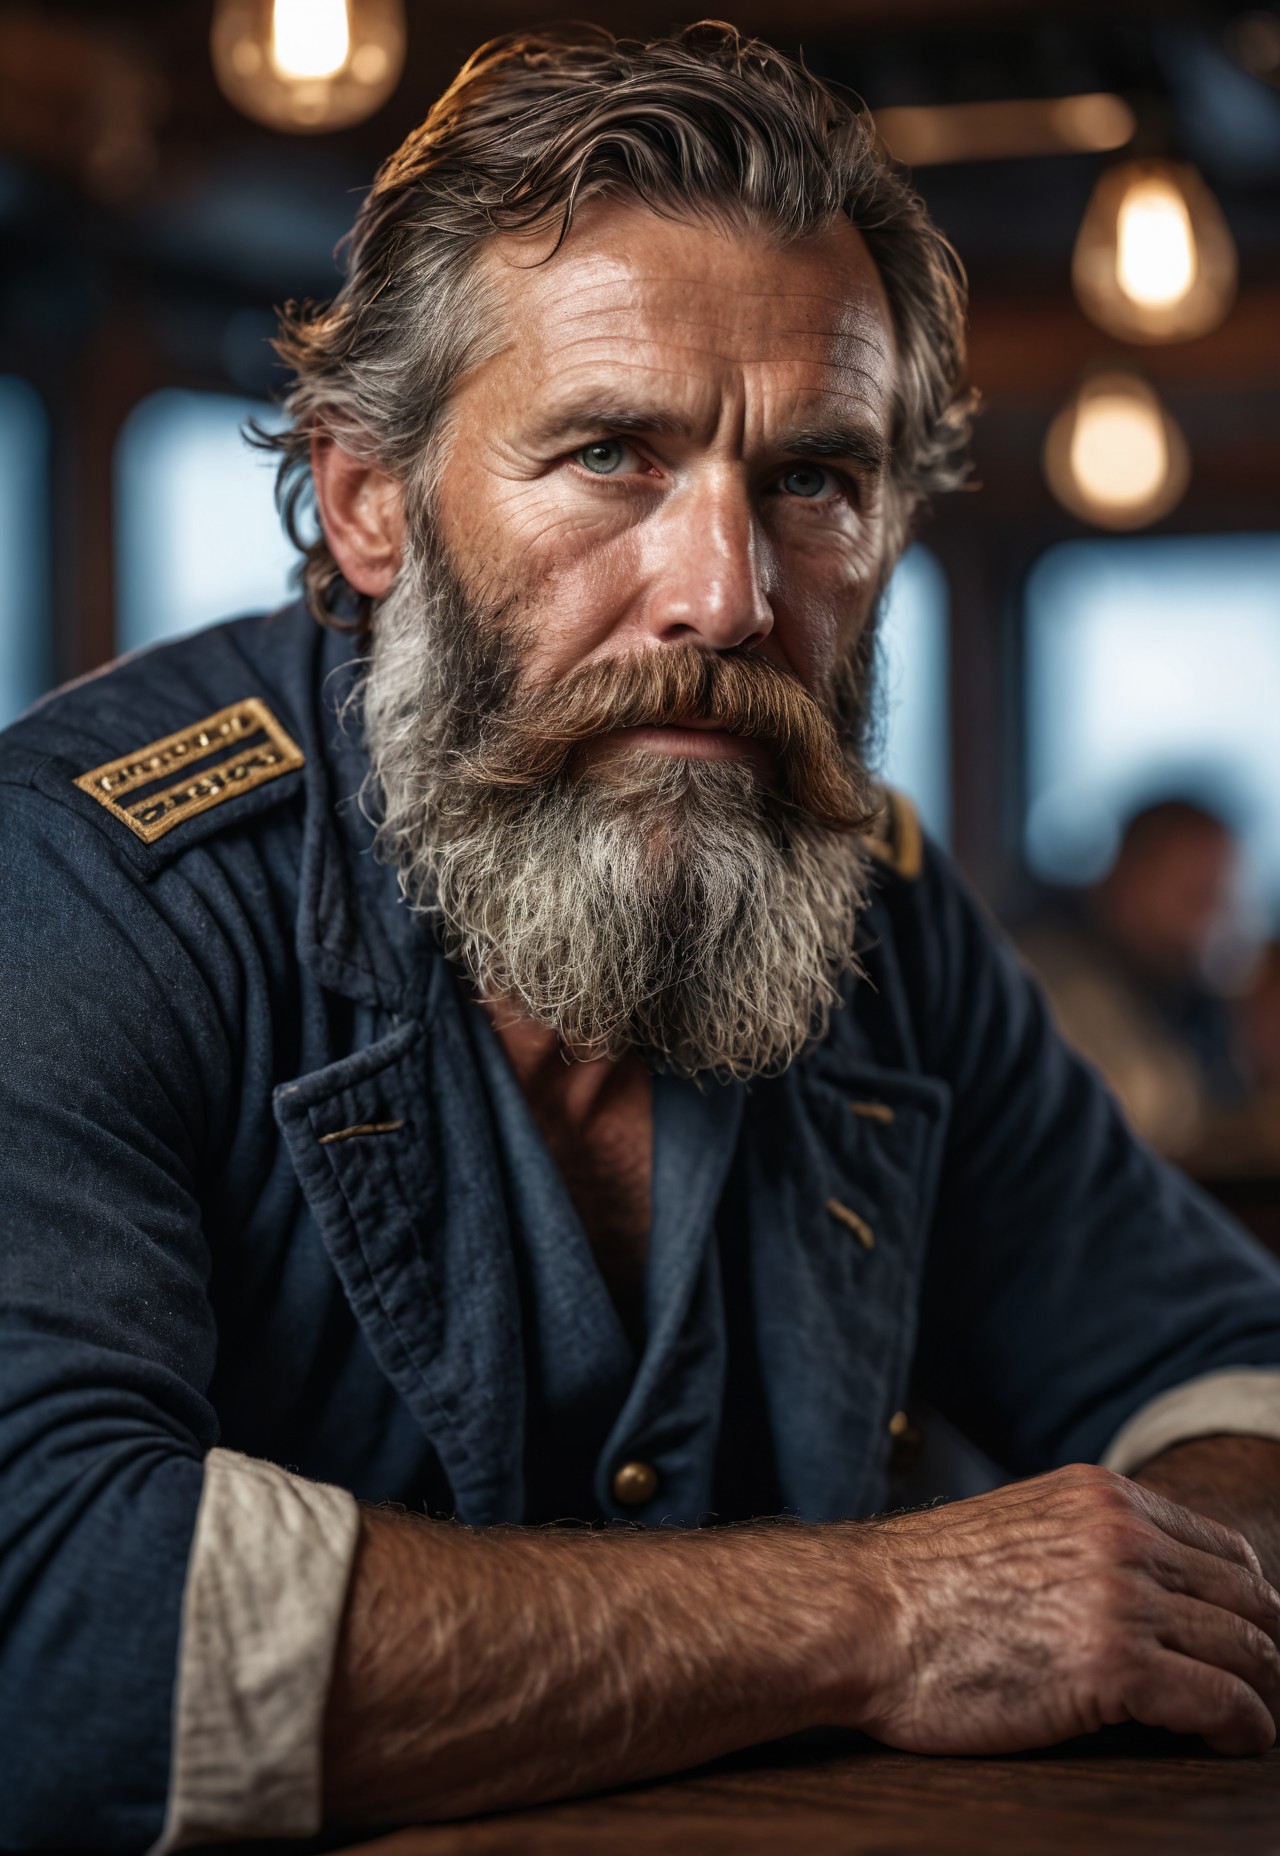
How do I make a Flux image?
You may have heard of Flux! Since its release on August 1st, 2024, it’s been making waves in the text-to-image generation world! Flux is setting new standards with its incredibly high-fidelity images, nailing human anatomy – yes, even the hands! – and delivering remarkable text reproduction. It’s a game-changer that’s raising the bar for what’s possible in AI-generated art. You can read more about Flux in our Quickstart Guide, here!
Here’s a sample of what possible with Flux – all images created by the Community using the Civitai on-site Generator!
Making images with Flux is simple! Click the blue Create button, enter a prompt, then click the big yellow Generate button at the bottom! Flux Standard is the default Generation model!
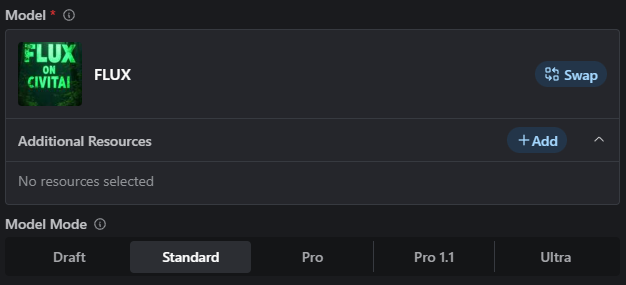
There are five (technically six!) versions of Flux, selectable from the Model Mode toggle. Check out our Quickstart Guide to Flux for details on what each model excels at!
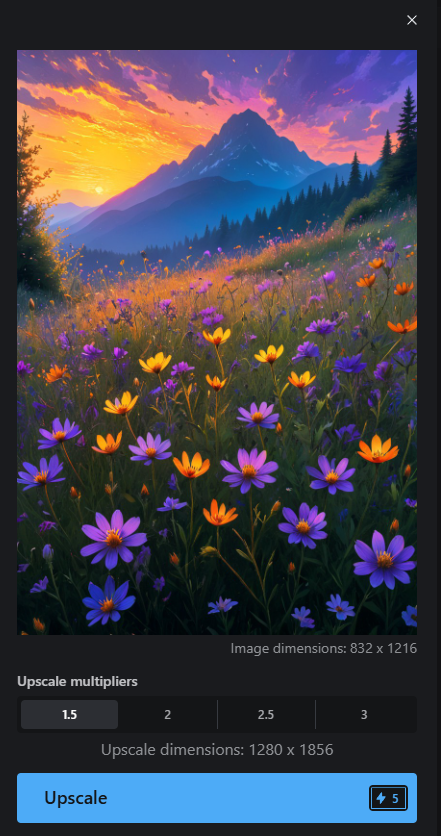
How do I make a bigger image?
After an image has been generated, you’ll have the option to Upscale it, from the magic wand menu.
Upscaling increases the size of the image by either 1.5, 2, 2.5 or 3 times for a modest Buzz cost.
Civitai uses a popular upscale model called 4x Foolhardy Remacri to ensure crisp, clean, upscaled images.
Cost
There is a small Buzz ? cost involved in generating images! It costs a lot of money to support the generation of literally millions of images each day (we regularly generate upwards of 10 million images per day!), and it’s just not sustainable to offer unlimited free generations to all our wonderful users.
We’re very grateful the site has become so popular and continues to see more users everyday, but servicing that many people is becoming increasingly expensive and a value needs to be added to offset that cost.
We had considered just continuing to lower the generation limits but that would be a temporary fix, requiring more and more cut backs over time. This way we can remove all generation limits from the Civitai Image Generator, in exchange for community content or revenue to keep the site running.
It’s very important to us that our free users can continue to use the Generator. To that end all users receive a certain amount of free Buzz every 24 hours, just for logging in and opening the Generator. Additionally we have many ways (and more are coming) for users to earn Buzz by reacting to images, posting content, having people like and collect posts, and engaging with other site content.
Restrictions, Limitations & Common Issues
Generated Images – Retention
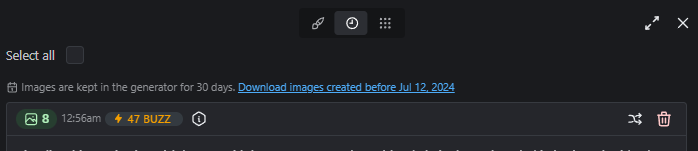
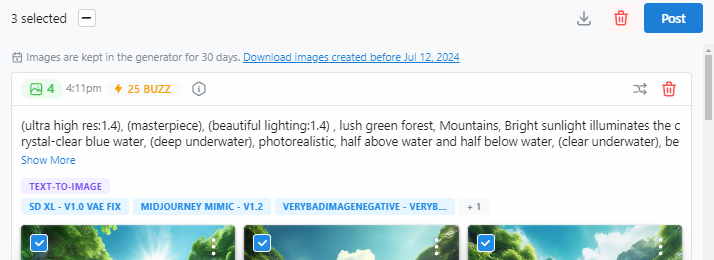
Going forward, all images created on the Image Generator, but not posted to your Civitai profile, will be retained for 30 days from their creation date!
If you’d like to keep your generations safe, please consider posting your generations to your Civitai Profile, or downloading them.
You can select multiple images, posting up to 20 at a time from the blue Post button, or downloading (in zip file format) to your local PC from the download button;
Self-Refunding
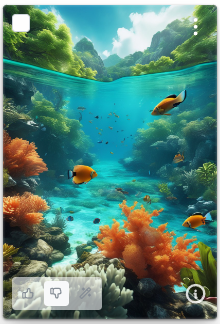
Bad generations happen! We do our best to provide automatic refunds when images don’t turn out as expected, but occasionally there are times when the results just aren’t right. In these cases, you can “self-refund”, up to a daily limit, while providing us with essential feedback on “bad” images.
To do so, look for the “thumb up” and “thumb down” icons on your generated images.
Clicking either will automatically grant a small amount of Buzz, but selecting the “thumb down” will give you the opportunity to submit a report to the Generation Development Team.
Getting Help – Job IDs
If you find yourself facing a generation issue which needs to be shared with an Admin on the Civitai Discord, or to the Civitai Ticket Portal, you should provide the Job ID from the affected generation.

Job IDs can be copied to your clipboard by clicking the little hexagonal “i” button in the Image Queue. Providing these with your bug report ensures that the Development Team can reproduce the state of your Image Generator, and is a huge time-saver for issue diagnosis!