| Last Updated | Changes |
| 2/13/2025 | First Version |
| 3/11/2025 | New Watch Out info! |
Local Development? Open Source?
Civitai is an open-source project, and we actively encourage community contributions! While many people know us as the largest repository of AI-generated models, fewer realize that our codebase is fully accessible on GitHub. If you’re interested in helping improve the platform, this guide will walk you through setting up the Civitai Development Environment locally.
All contributions to the Civitai platform are entirely voluntary. While we greatly appreciate the time and effort our community puts into improving the platform, there is absolutely no obligation to participate. Open-source development is built on collaboration and passion for building something better together. If contributing isn’t for you, that’s totally fine! No one is required to volunteer their time, and we understand that not everyone has the bandwidth to contribute. If you do think you have the skills and desire to help, we truly appreciate it!
Github?
Our codebase is hosted on GitHub. Here, you can explore the project, report issues, and contribute code by submitting pull requests (PRs). Our repository includes documentation, a contribution guide, and everything needed to get started with local development.
Who Is This Guide For?
This guide is extremely high-level, and intended for developers who have some experience working with:
- WSL (Windows Subsystem for Linux)
- Docker
- Visual Studio Code (or a preferred development environment)
- Node.js, PostgreSQL, and Redis
- Basic Git workflows
If you’re unfamiliar with these technologies, we recommend brushing up on them before attempting to set up the environment.
Getting Started
Before you begin, make sure you have the necessary tools installed:
Prerequisites
- WSL (for Windows users) – Ensure WSL is installed and configured.
Important Warning for Windows Users: Either clone the repo onto a WSL volume, or use the “clone repository in named container volume” command. Otherwise, you will see performance issues. - Docker – Required for containerized services.
- Visual Studio Code – Optional, but it does provide a streamlined development experience.
- Git – To clone the repository and manage contributions.
- Redis Insight – Optional, allows interrogation of the Redis subsystem.
First Steps
Github
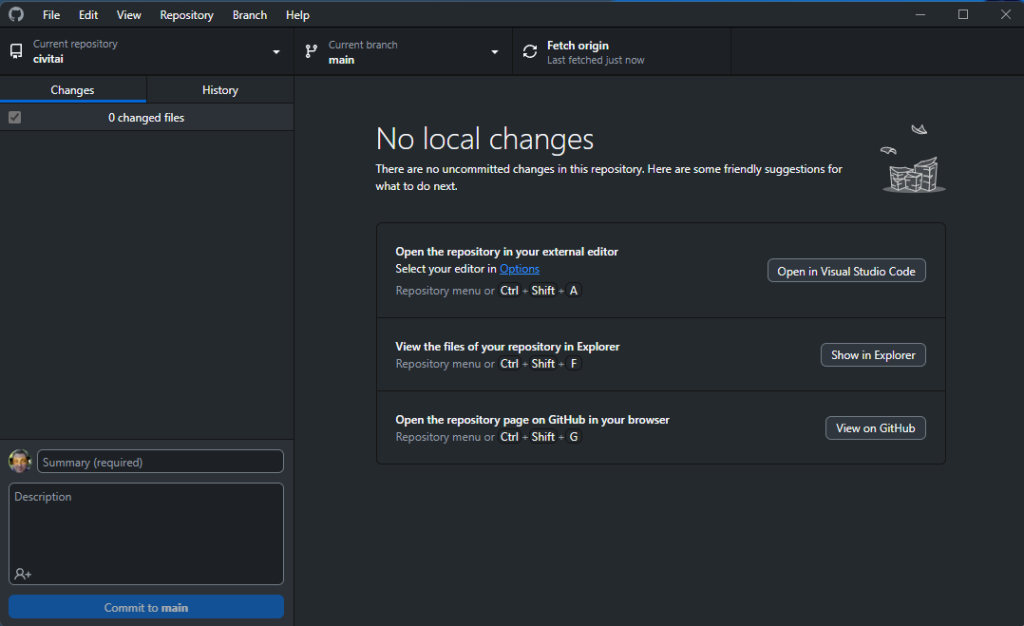
Using Github (Desktop, or Command Line, whichever your preference), clone the Civitai Repo from Github.
git clone https://github.com/civitai/civitai.git
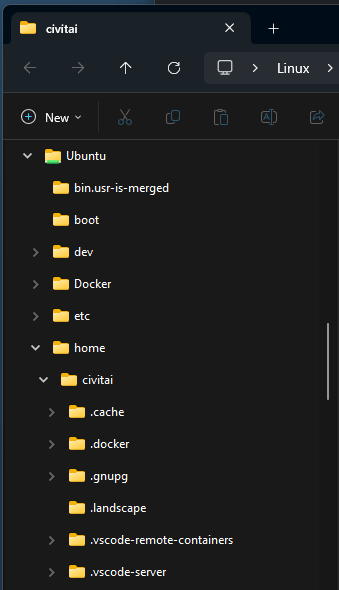
If working in a Windows Environment, you’ll have to clone the files to WSL.
Launching the Container
Open the directory in your IDE of choice.
If using VS Code, you’ll be prompted to Open in container
For other IDEs, you may need to open the .devcontainer/devcontainer.json file, and click “Create devcontainer and mount sources“

The Automated Config Process
After reopening in Container, several things will happen;
- A starter
envfile will be created - Npm packages will be installed
- Docker containers will be configured and spun up;
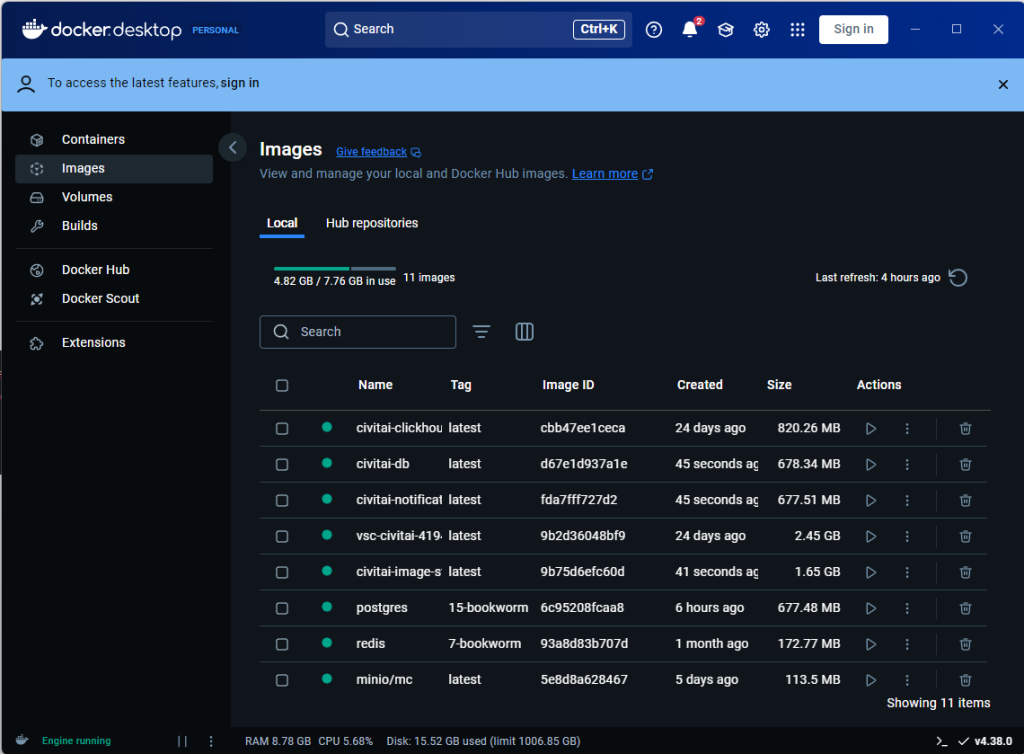
- Additional database migrations will occur
- Dummy seed data will be inserted;
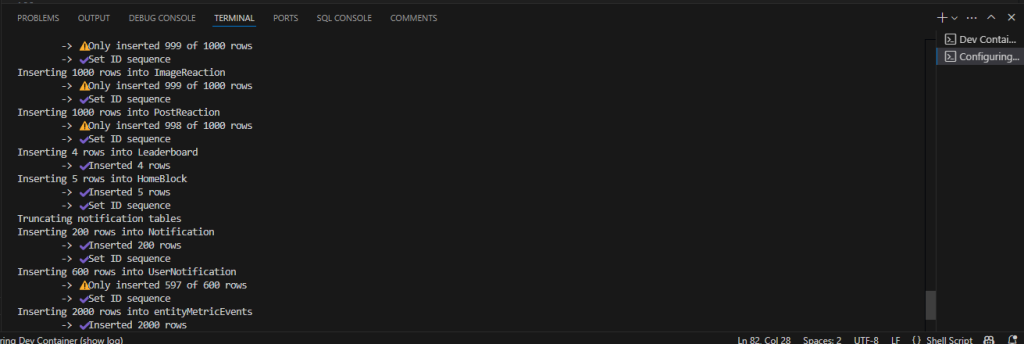
- Metrics and meilisearch will be populated;
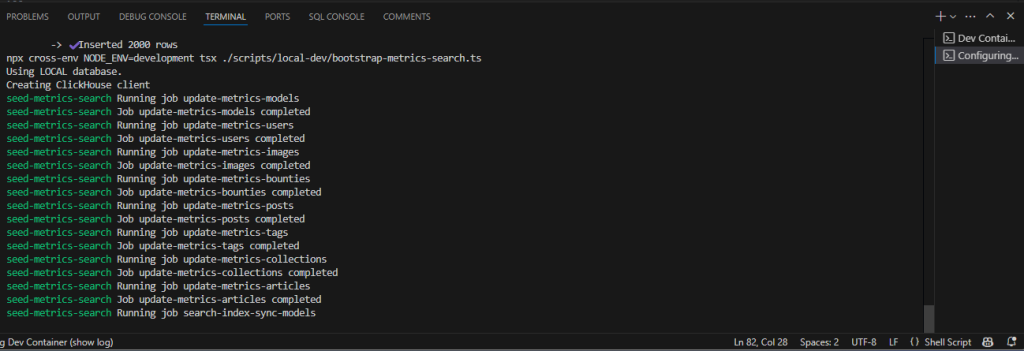
- Prisma will initialize
Open a new terminal and run make run or npm run dev to start the server;

Final Configuration
Edit the .env.development file
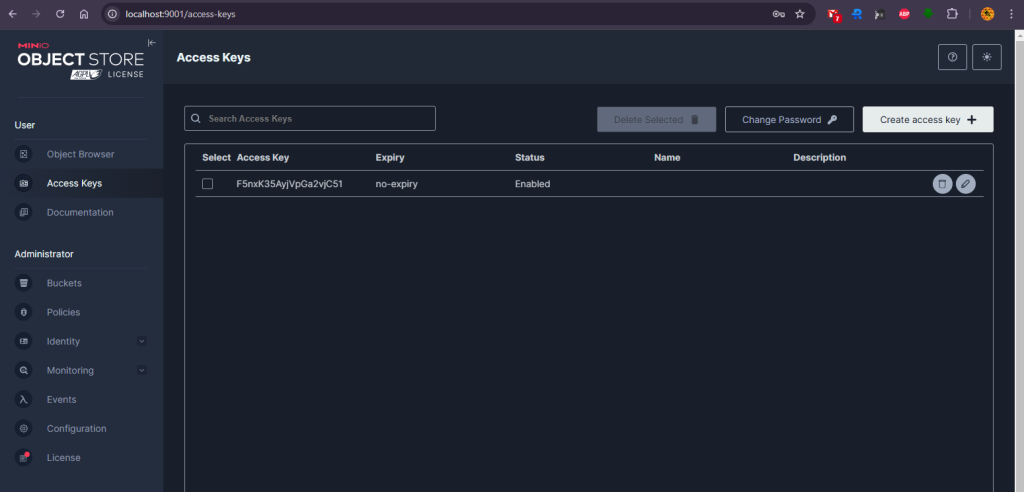
Most default values are configured to work out of the box, except the S3 upload key and secret. To generate those, navigate to the minio web interface at http://localhost:9000 with the default username and password minioadmin, then navigate to the “Access Keys” tab. Click “Create Access Key” and copy the generated key and secret into the .env file.
Set WEBHOOK_TOKEN to a random string of your choice. This will be used to authenticate requests to the webhook endpoint.
Add a random string of your choice to the email properties to allow user registration
EMAIL_USER
EMAIL_PASS
EMAIL_FROM (Valid email format needed)

It’s Alive!
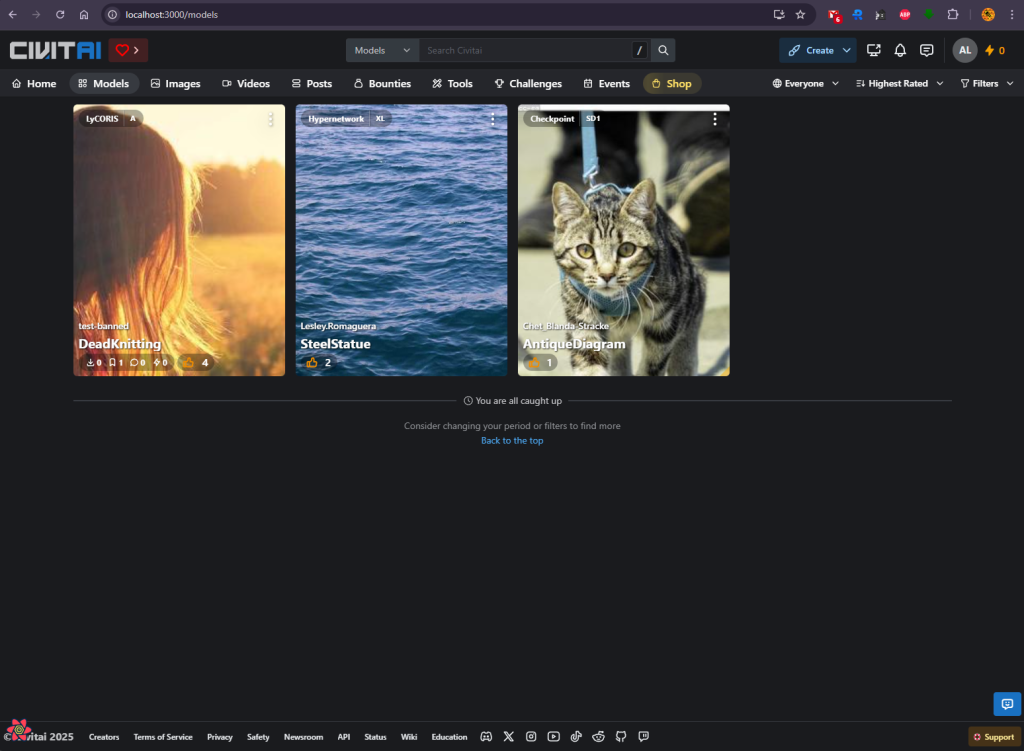
Congratulations, your very own local Civitai.com, running at localhost:3000
Signing In
Account creation will run emails through maildev, which can be accessed at http://localhost:1080

Altering Your User
You may wish to set your new user account up as a moderator. To do so use a database editor (like DataGrip) or connect directly to the DB (PGPASSWORD=postgres psql -h localhost -p 15432 -U postgres civitai), locate your usr record (via email or username) and change isModerator to true.
Data Migrations
Over the course of development, you may need to change the structure of the database. To do this:
If you are adding/changing a column or table, please try to keep the gen_seed.ts file up to date with these changes.
Make your changes to the schema.prisma file
Create a folder in the prisma/migrations folder named with the convention YYYYMMDDHHmmss_brief_description_here
In this folder, create a file called migration.sql
In that file, put your sql changes.
These are usually simple sql commands like ALTER TABLE ...
Run make run-migrations
Contributing
We welcome contributions! Once your environment is set up, here’s how you can get involved:
- Fork the Repository – Create your own copy of the repo on GitHub.
- Create a Branch – Work on your changes in a dedicated branch.
- Make Your Changes – Follow best practices and keep changes focused.
- Submit a Pull Request – Once your changes are ready, open a PR for review!
Community Development Team
Some months ago, we proposed a Community Development Team, and we still plan to move forward with it. However, challenges with our codebase and local development setup delayed things. This guide is a step toward making contributions more accessible, and we hope to see more community involvement soon!
Known Limitations
Certain systems will not function in a local environment, including;
- Orchestration (Generation, Training)
- Signals (Chat, Notifications, other real-time updates)
- Buzz
Watch Out!
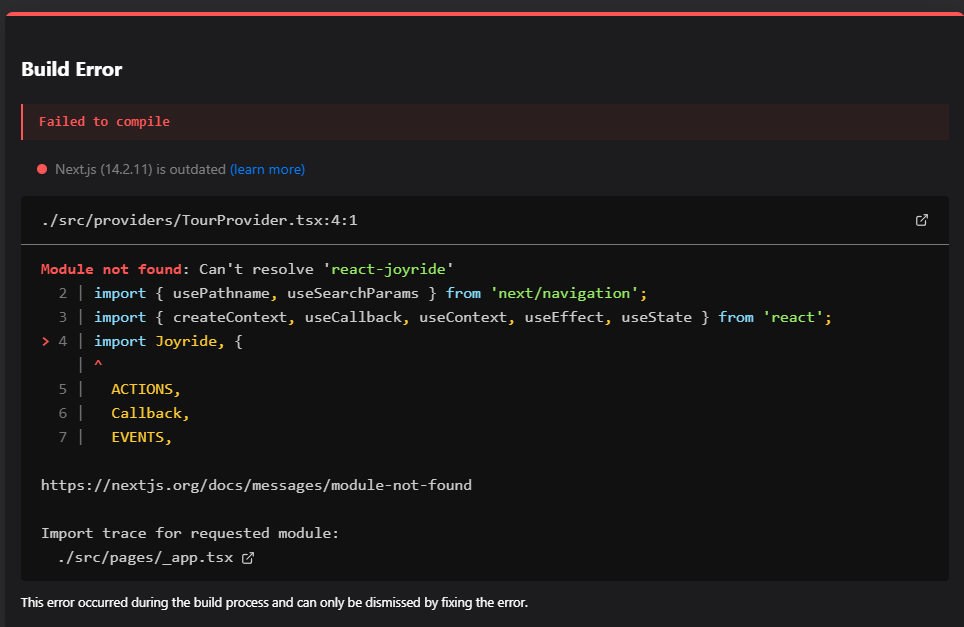
- After certain updates on the main branch, you may be required to run
npm installto update packages and dependencies. Give that a go if you’re seeing build errors, such as the following, when trying to launch the site;
- You will have to add
NEXT_PUBLIC_SIGNALS_ENDPOINT=localhost:3000to theenv.developmentfile.


